Modified Bitumen Roofing: How Heat Welding Secures Detail Work
Modified Bitumen Roofing: How Heat Welding Secures Detail Work
Modified bitumen is one of the most trusted roofing systems for flat or low-slope roofs across Gainesville, Cumming, and beyond. It’s reliable, durable, and proven—especially when installed with precision.
But there's one part of the process that demands extra care: heat welding detail work.
Let’s walk you through what it is, why it matters, and how we at L&L Roofing & Construction make sure it’s done right—every single time.
What Is Heat Welding in Modified Bitumen Roofing?
Modified bitumen roofing often comes in sheets, made of asphalt with modifiers to increase flexibility and strength. These sheets are either:
APP-modified (Atactic Polypropylene): Heat-welded with a torch
SBS-modified (Styrene-Butadiene-Styrene): Usually installed with cold adhesive, hot asphalt, or self-adhesive, but sometimes torch-applied
Heat welding uses an open flame (typically a roofing torch) to bond the seams of the roofing membrane. It’s not just about sealing the large field areas—the detail work is where roof longevity is truly protected.
Where Detail Work Happens
You’ll find detail welding wherever the membrane meets or wraps around other structures:
Drains
Parapet walls
Curbs (for HVAC units, skylights, vents)
Inside/outside corners
Terminations and transitions
These areas are highly prone to leaks if not properly sealed. That’s why our team pays special attention here—with a mix of skill, training, and patience.
The Right Way to Heat Weld Detail Work
Here’s a quick breakdown of how we do it at L&L Roofing:
1. Clean and Prep the Surface
Sweep away debris
Dry the area completely
Prime surfaces if required
2. Measure and Cut Membrane Patches
Pre-cut to size for corners, curbs, and flashings
Round the corners to reduce stress points
3. Controlled Torch Application
Keep the flame moving steadily to avoid burns
Use a roller to ensure full adhesion
Observe the bleed-out of bitumen at the edges (a good indicator of proper bonding)
4. Check Overlaps and Transitions
Overlaps should be a minimum of 3" (side) and 6" (end) unless manufacturer specifies more
Every welded edge is pressed and sealed fully, especially around penetrations
5. Inspect and Test
Let the area cool
Probe seams with a roofing pick to check adhesion
Re-weld any areas not sealed correctly
Safety Comes First
Heat welding isn’t something to rush—or take lightly. Our team always follows:
Fire safety protocols
Proper PPE (gloves, face shields, fire-retardant clothing)
Local fire code compliance (especially important in commercial areas)
If you're a property owner, make sure your contractor has certified torch applicators—it’s not worth the risk otherwise.
Why It Matters for Your Roof’s Life
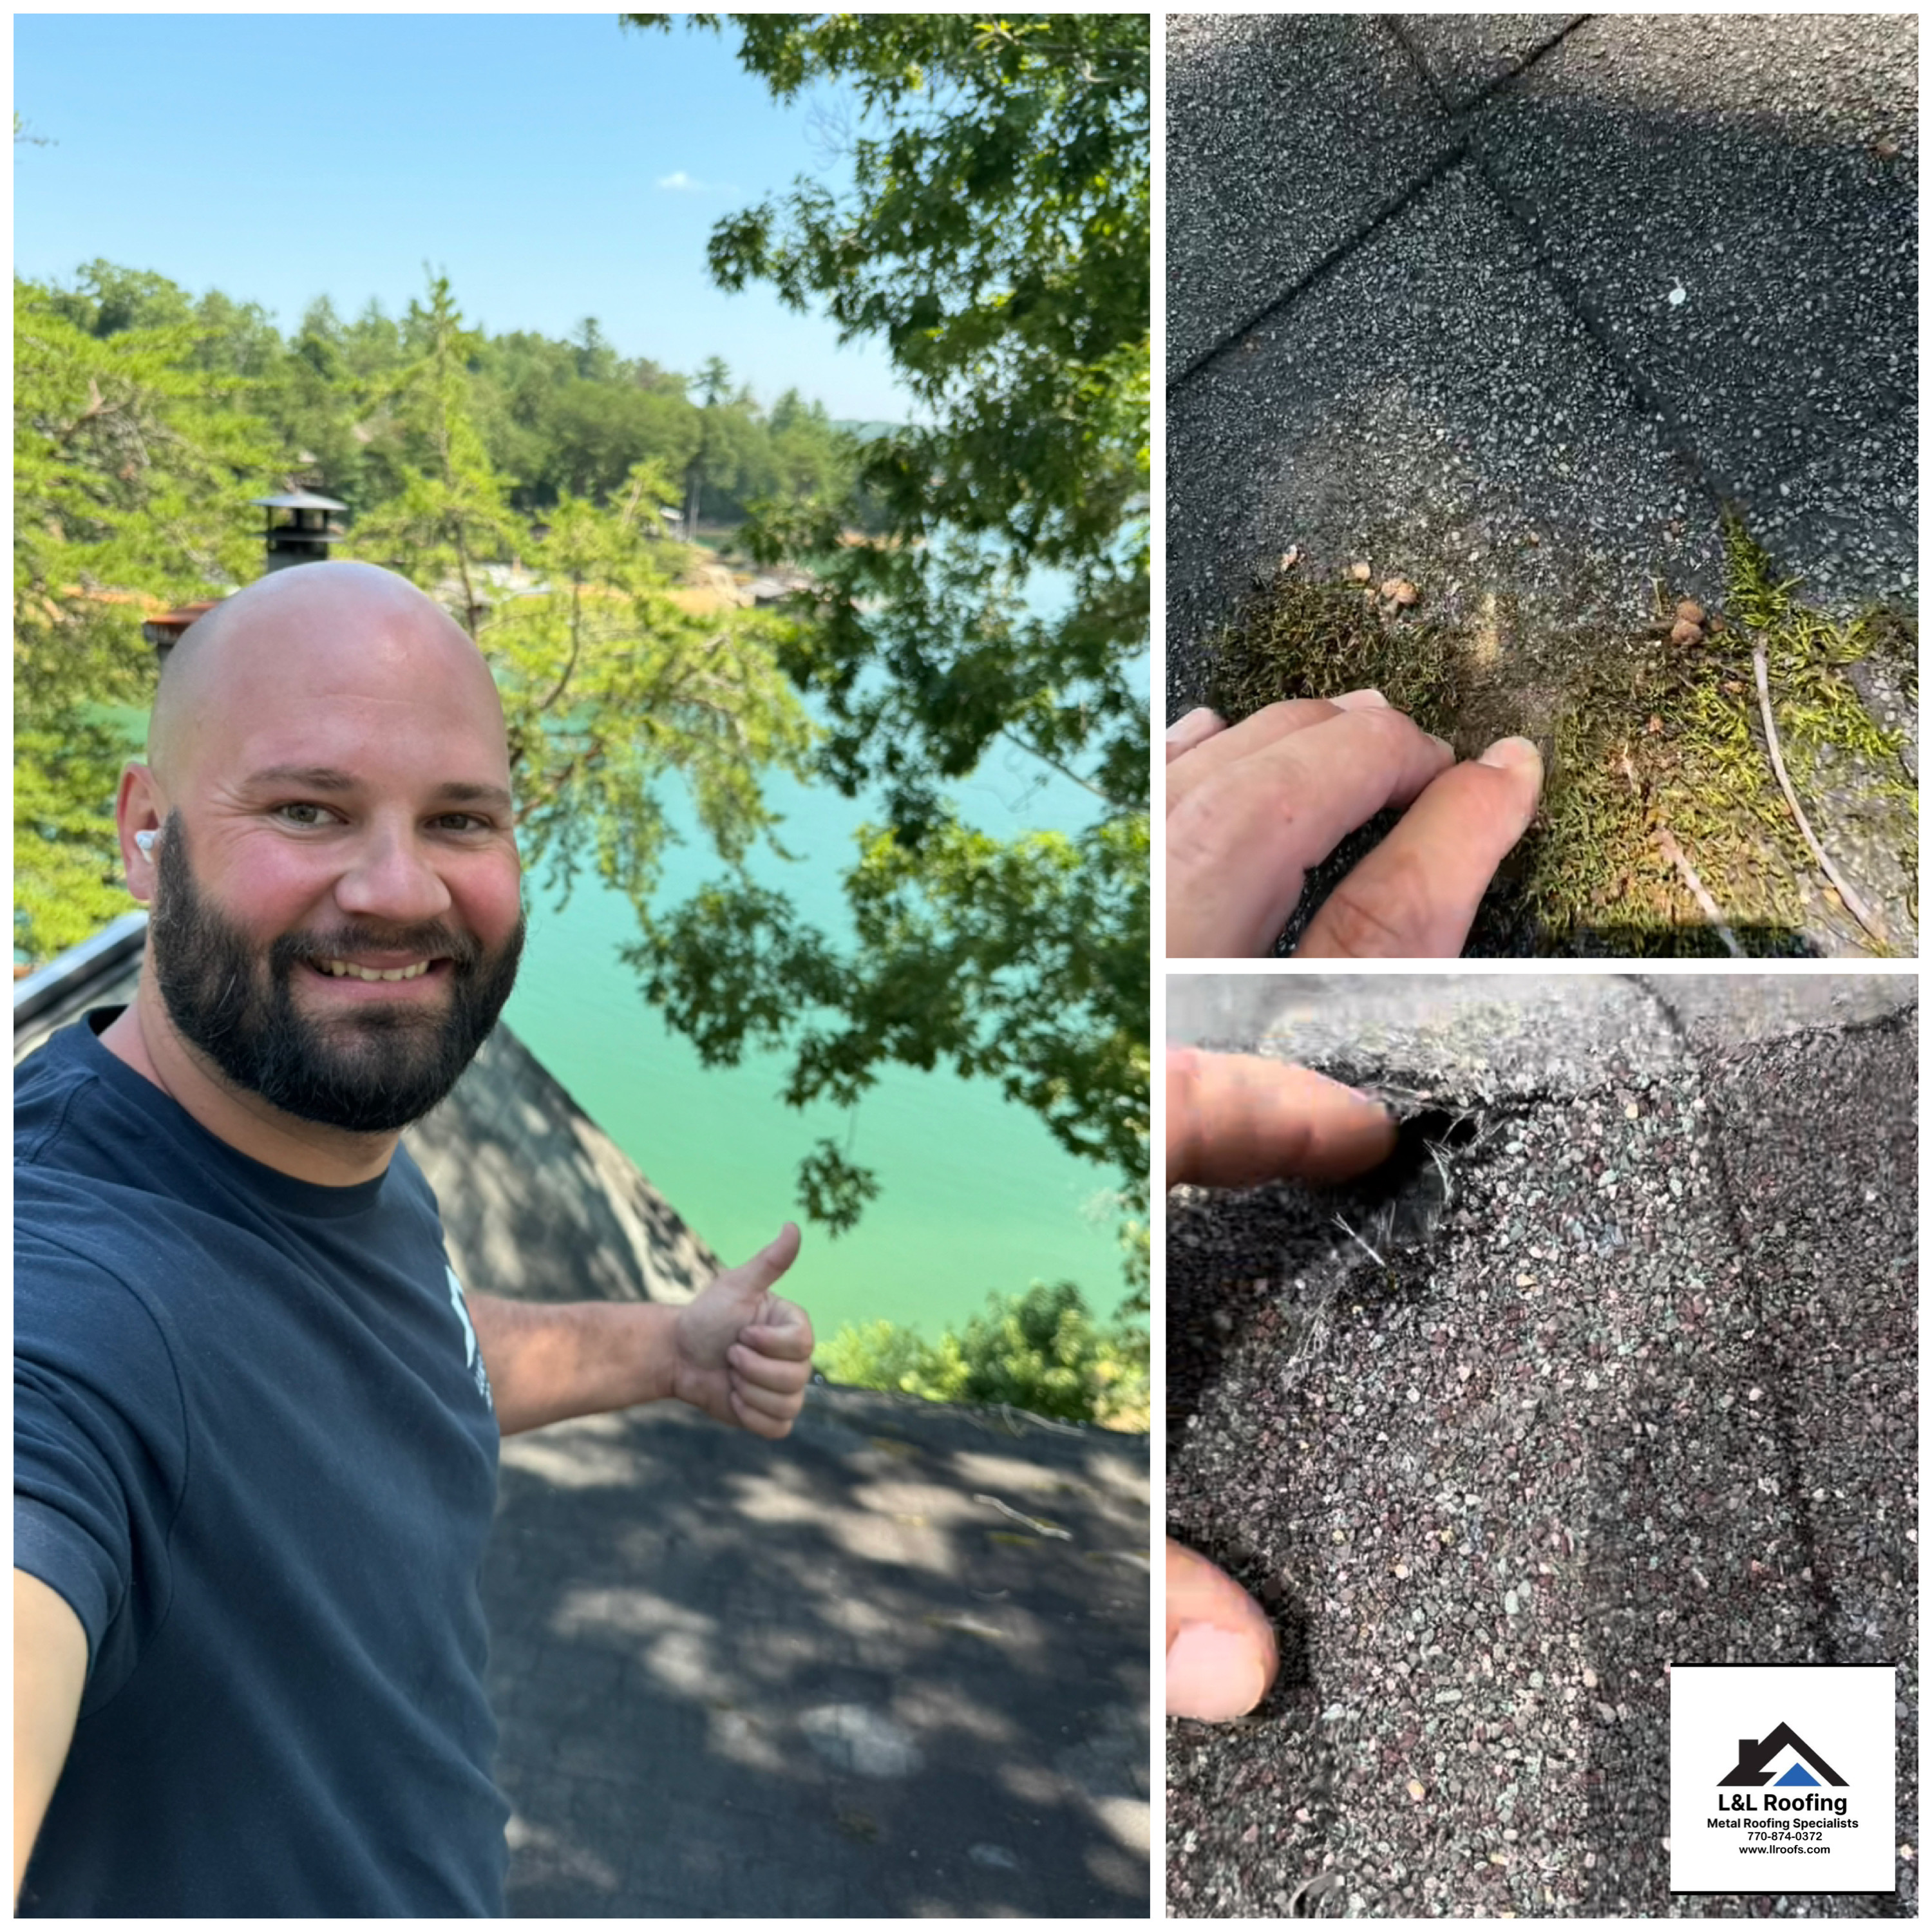
Poorly done detail work causes more leaks than most homeowners realize. It's not always a roofing failure—it’s a detail failure. That’s why we:
Never cut corners
Use manufacturer-approved techniques
Ensure every flashing, seam, and termination is fully sealed
When you trust L&L Roofing, you’re not just getting a roof. You’re getting peace of mind.
FAQs
How long does it take to heat weld detail work?
Most patches or corners only take a few minutes—but the prep and care take longer. We never rush it.
Can I use cold adhesive instead of a torch?
In some cases (like SBS-modified bitumen), yes. But for APP-modified systems, torching is often required for the best seal—especially for flashings.
Is heat welding dangerous?
It can be if done carelessly. That’s why trained pros should always handle it. At L&L Roofing, our team is properly certified and insured.
Looking for expert flat roofing in Gainesville, Cumming, Buford, or Dahlonega? Trust L&L Roofing & Construction for honest work and detail-first craftsmanship.
Call us at (770) 874-0372 to schedule a consultation or inspection.